1. Before You Start (fix Missing Media)
The project file for every category of transitions includes different media files, such as sound effects, and video preview.
When transitions are imported into your project, Missing Media notification window can appear. Not to have this trouble, do the following:
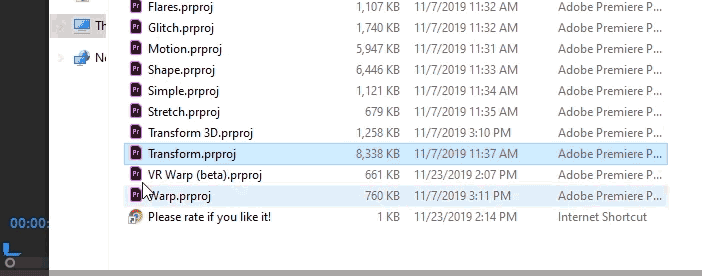
1 Extract archive with transitions, that you downloaded from videohive.net.
2 In “Transitions” folder – open the category project file (.prproj) in Premiere Pro.
3 Re-save this project file.
Now Premiere Pro will remember media files path. This must be done only once.
2. Custom Resolution
For these presets to work correctly, transition resolution must match the resolution of your project. If the resolution differs the transitions will not work. Full HD resolution is used for these transitions by default. If your project has another resolution, for example, 4K, you should do some simple steps:
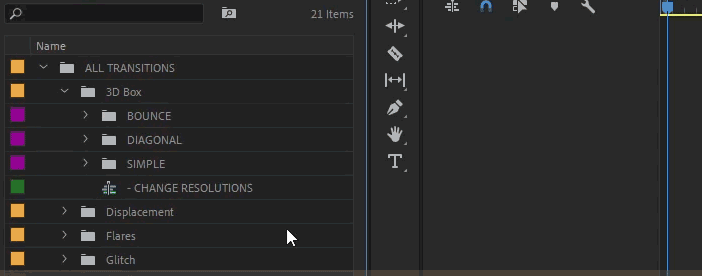
1 Import the category file (.prproj) into your project in Premiere Pro.
2 Right-click the sequence “- CHANGE RESOLUTION” and select “Sequence Settings”.
3 In the popup window for Sequence Settings – set the resolution that comply with your project.
In order not to change the resolution every time you can save the file with certain resolution like a preset.
To do this, open default file with transitions. Then, change the resolution and save this file with a new name.
3. Timeline Settings
If the layer with stock preview is imported into your sequence instead of the transition, you should just change the settings on the timeline panel. To do this, follow these steps:
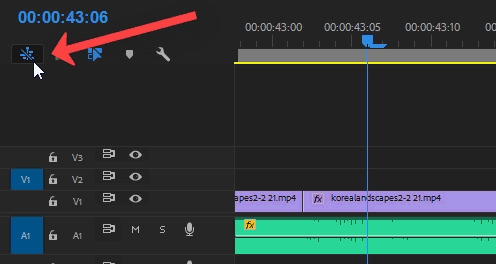
1 Enable the ability to insert layers from other sequences.
2 Select the transition in the project panel.
3 Disable the insert for the first video track (V1) – since this track contains a layer with video preview.
4. Transition Preview
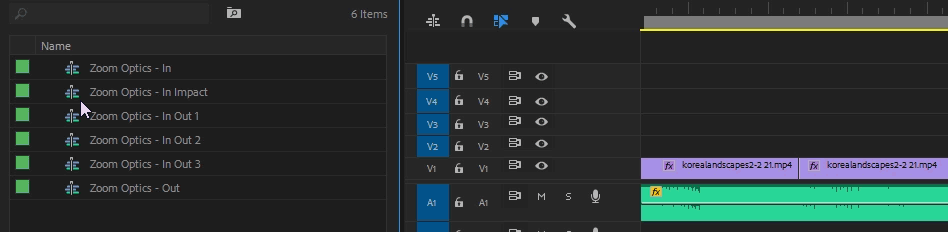
1 To choose the desired transition, open folder with sub-category.
2 To see the preview of transition, set the Icon View mode.
3 When you move cursor over the icon, the transition animation will be displayed.

5. Applying a Transition Preset
1 Drag and drop the transition sequence into your sequence.
2 The transition peak is indicated by a cut. Move the layers of the preset along the timeline so that the transition peak coincides with the joint of your two media.
Done :)
Troubleshooting
Make sure that resolution of imported presets matches the resolution of your project.
For example, if you imported a file with transitions “1920×1080 FullHD – HST.prproj”, in a project in which the resolution of your sequence has a resolution of 3840×2160 (4K), the transitions will not work.
Note! If the included files with presets do not have appropriate resolution for your project, you can change resolution of presets yourself. Please read more here.
Make sure that you disable the insert for the first video track (V1). Read more here.
- Make sure you use the latest version of the presets (no lower than 1.3). The latest version is always available for download on your download page.
- Try upgrading the Premiere Pro version to the latest, using Creative Clouds.
For these transitions, requires Premiere Pro version 12.1.1 or higher.
Unfortunately in Premiere Pro there is no possibility save projects to earlier versions.
Try updating your version of Premiere Pro to the latest, using Adobe Creative Clouds. Read more here.
The standard “Offset” effect in Premiere Pro may not be correctly displayed if you set the preview quality lower than Full, for example 1/2 or 1/4. It does not affect the final rendering at all and in full resolution everything will work fine.
This warning message appears because the packet with transitions includes sound effects and other media files.
To fix this, need Premiere Pro to remember the way to the necessary media files. Do the following:
- On your disk, in the directory where you saved the project, open the “Transitions” folder.
- Open the .prproj file with the resolution you are planning use later.
- Re-save this project file.
In all files with different versions of resolutions, the transition sequence has a resolution of 1920×1080, but this does not affect the operation of transitions in projects with a different resolution.
The transition sequence just contains the necessary layers and preview. You do not need to insert any footages into this sequence.
Make sure your system meets the Adobe requirements for CC 2019:
https://theblog.adobe.com/important-information-on-gpu-acceleration-with-cuda-and-apple-metal